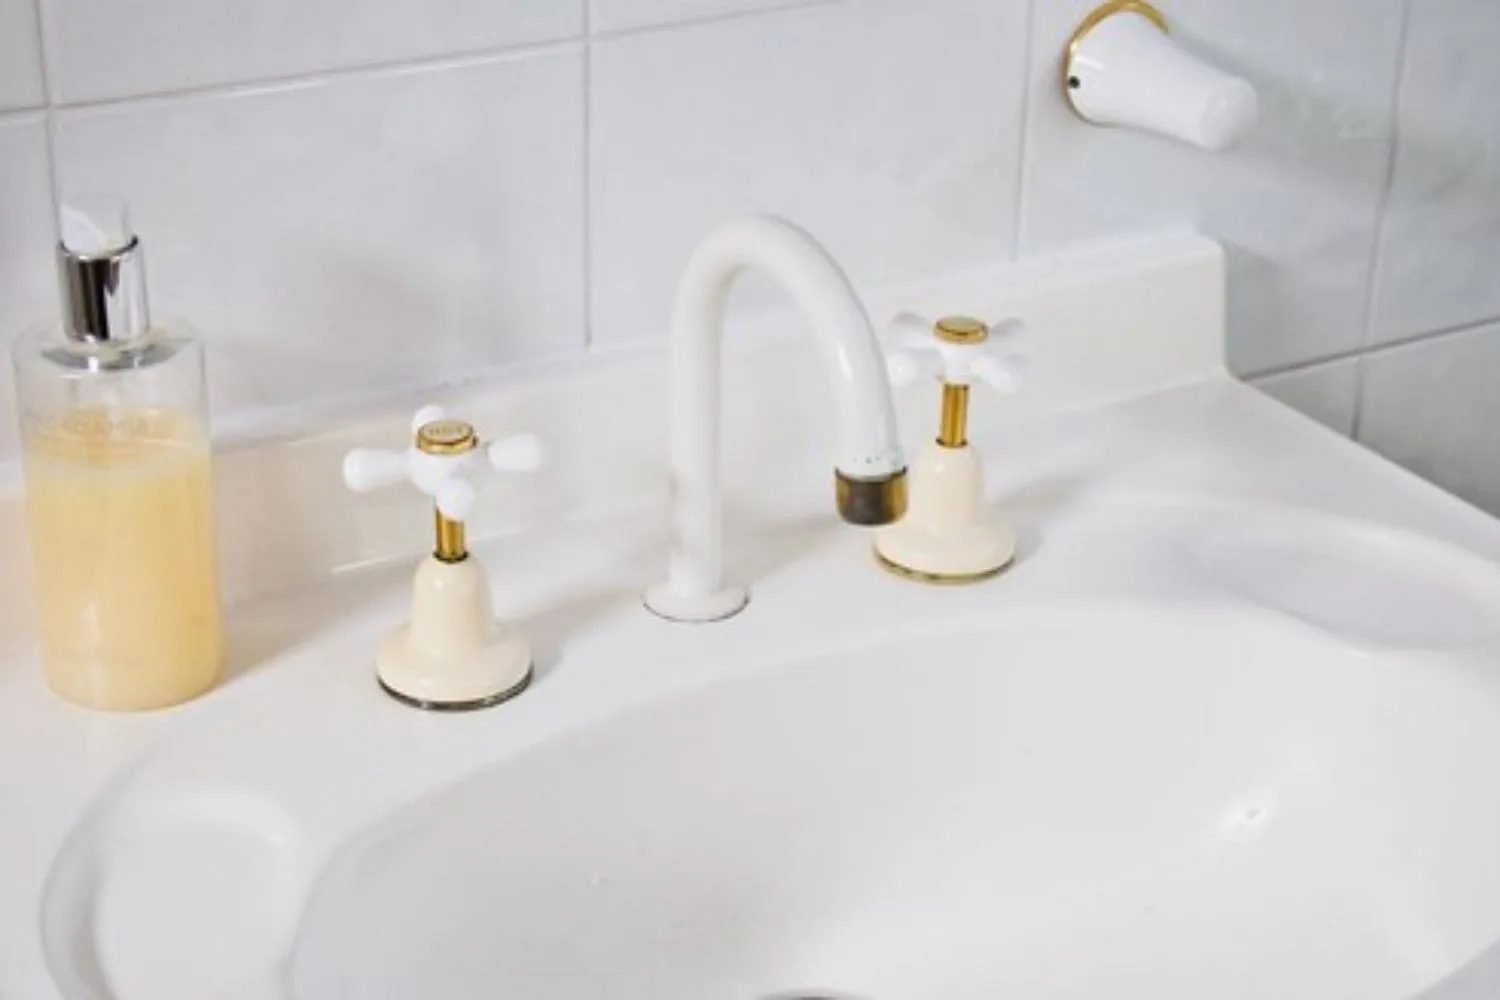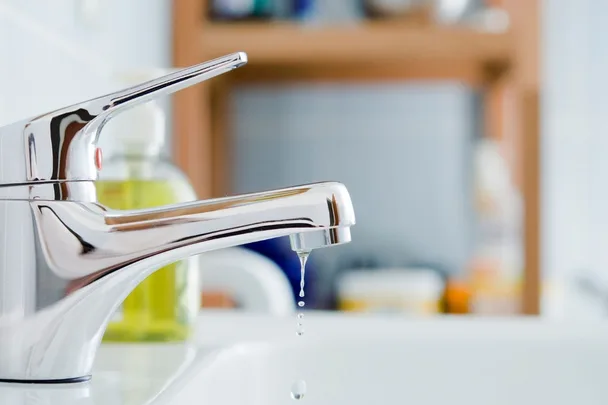
The drip, drip, drip of a leaking tap is not just annoying, it also literally flushes money down the drain. Fixing your leaking tap is a cheap, fast and easy process you can do yourself and save the hassle and costs of calling out a plumber.
Common reasons a tap leaks or drips
Before you can fix a leaking tap, you’ll need to identify the cause. The most common issues are old washers and O-rings.
If the tap drips when it is turned off, it means the washer attached to the jumper valve needs replacing. If you get water flowing or oozing out between the tap body and spindle or out from under the cover plate when the tap is turned on, it’s most likely the O-ring that needs to be replaced. Either way, the tap will need to be dismantled, so it’s worth replacing both while you’re at it.
How to fix a dripping tap by replacing the washer and O-ring
Gather your supplies
- A tap repair kit or individual parts
- Cloth
- Utility knife
- Spanner
Step 1
Turn off the mains water supply, then turn on the tap you are working with and let the water drain out. Unscrew the button or screw that holds the handle in place, remove the handle, then unscrew or remove the cover plate to expose the body and spindle. If there’s water in the top of spindle or the outer body is wet, it’s a sign the O-ring is leaking.
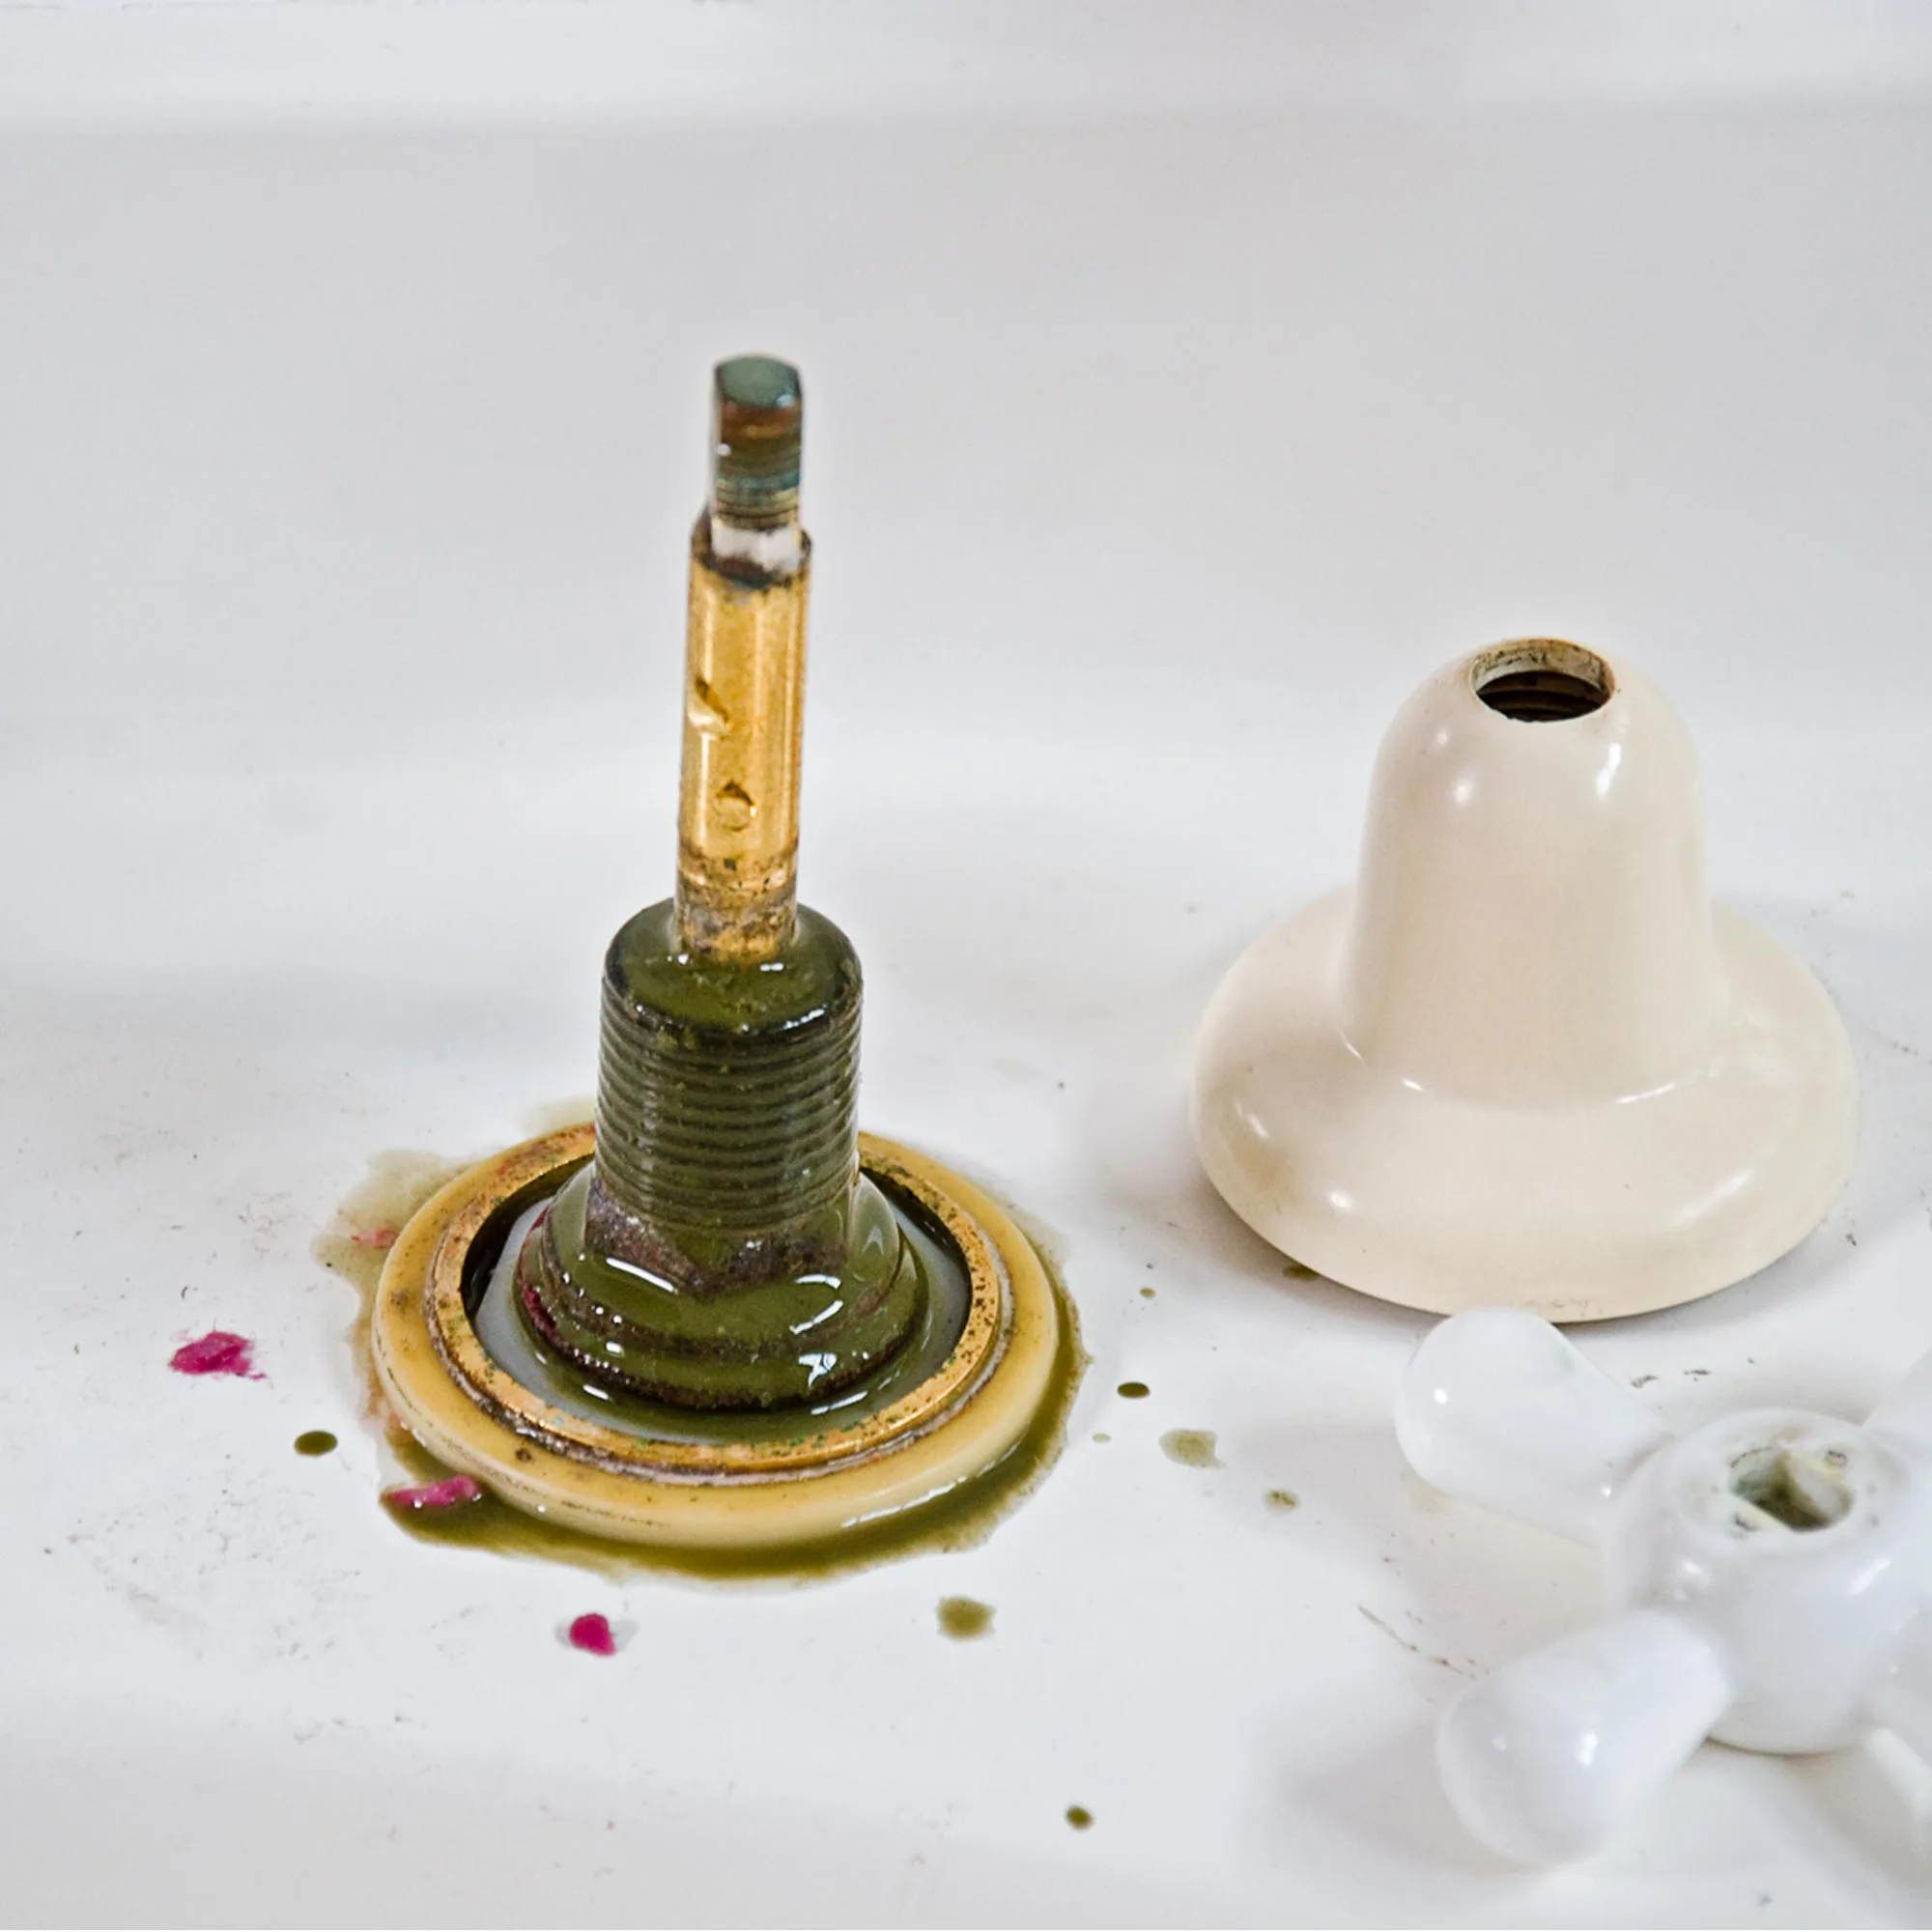
Step 2
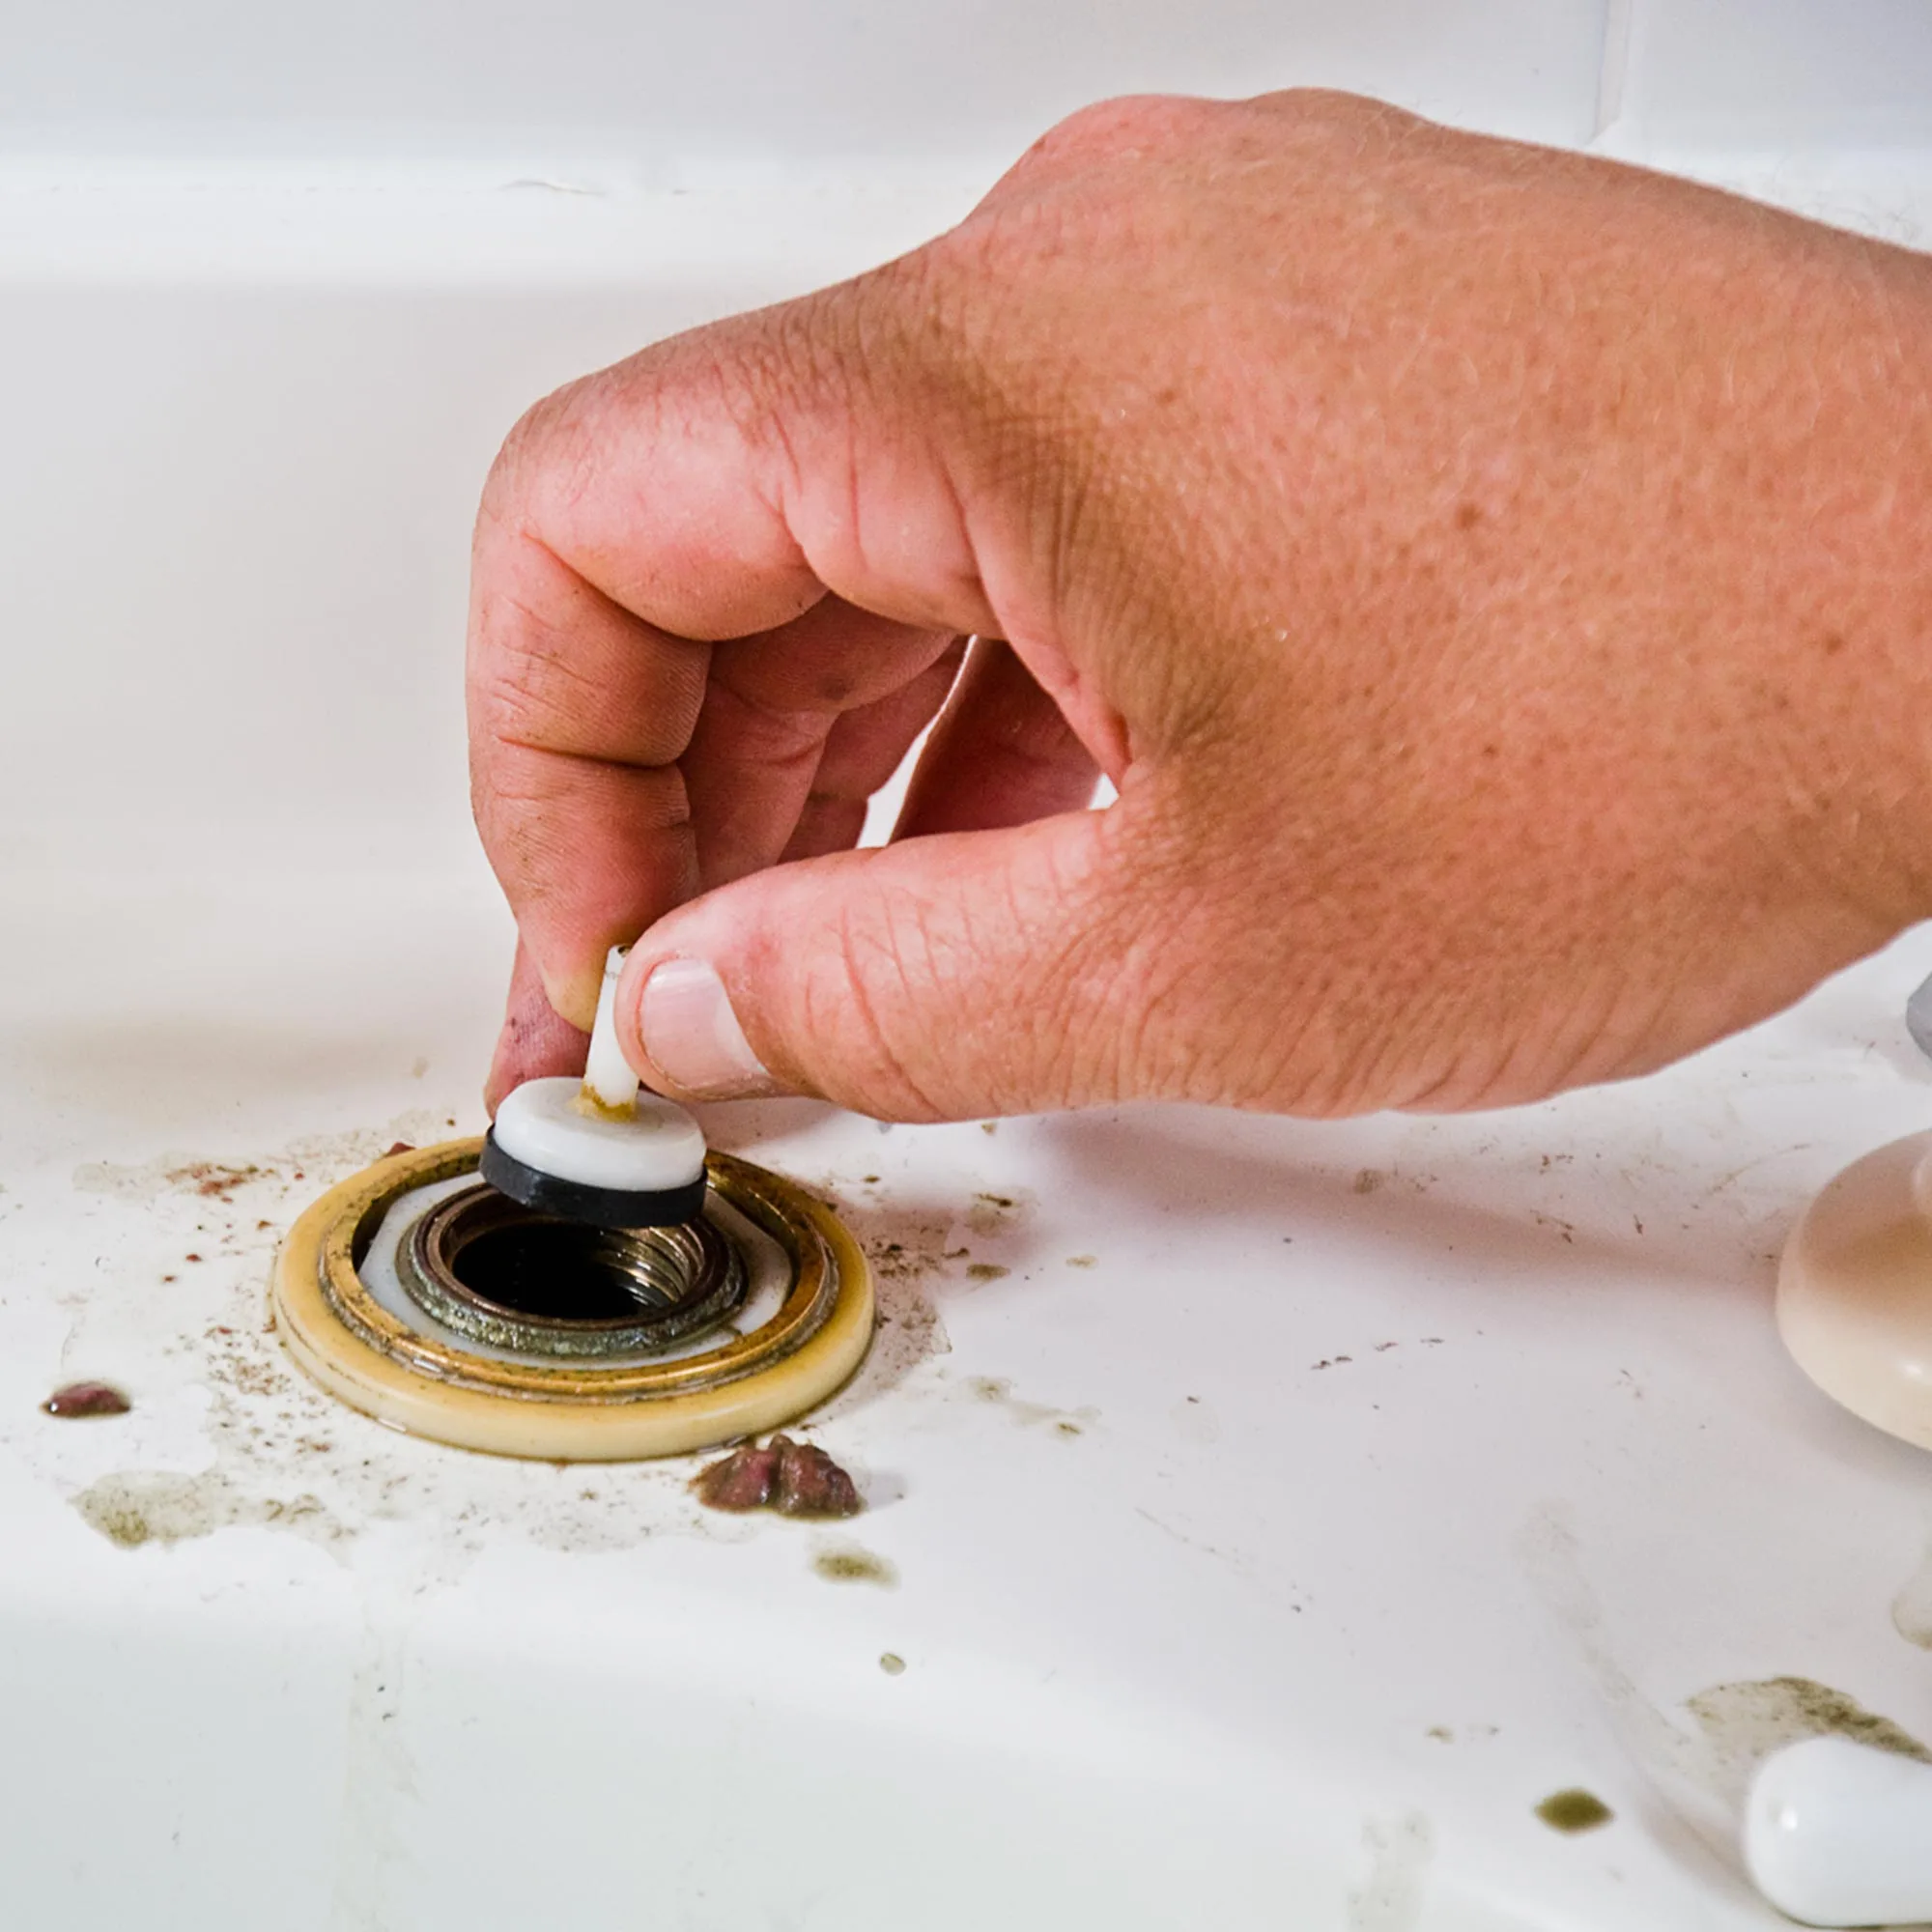
Using a spanner, loosen the body and unwind it. Remove the body washer that remains on the tap base and pull out the jumper valve, which has a washer attached to its base.
Step 3
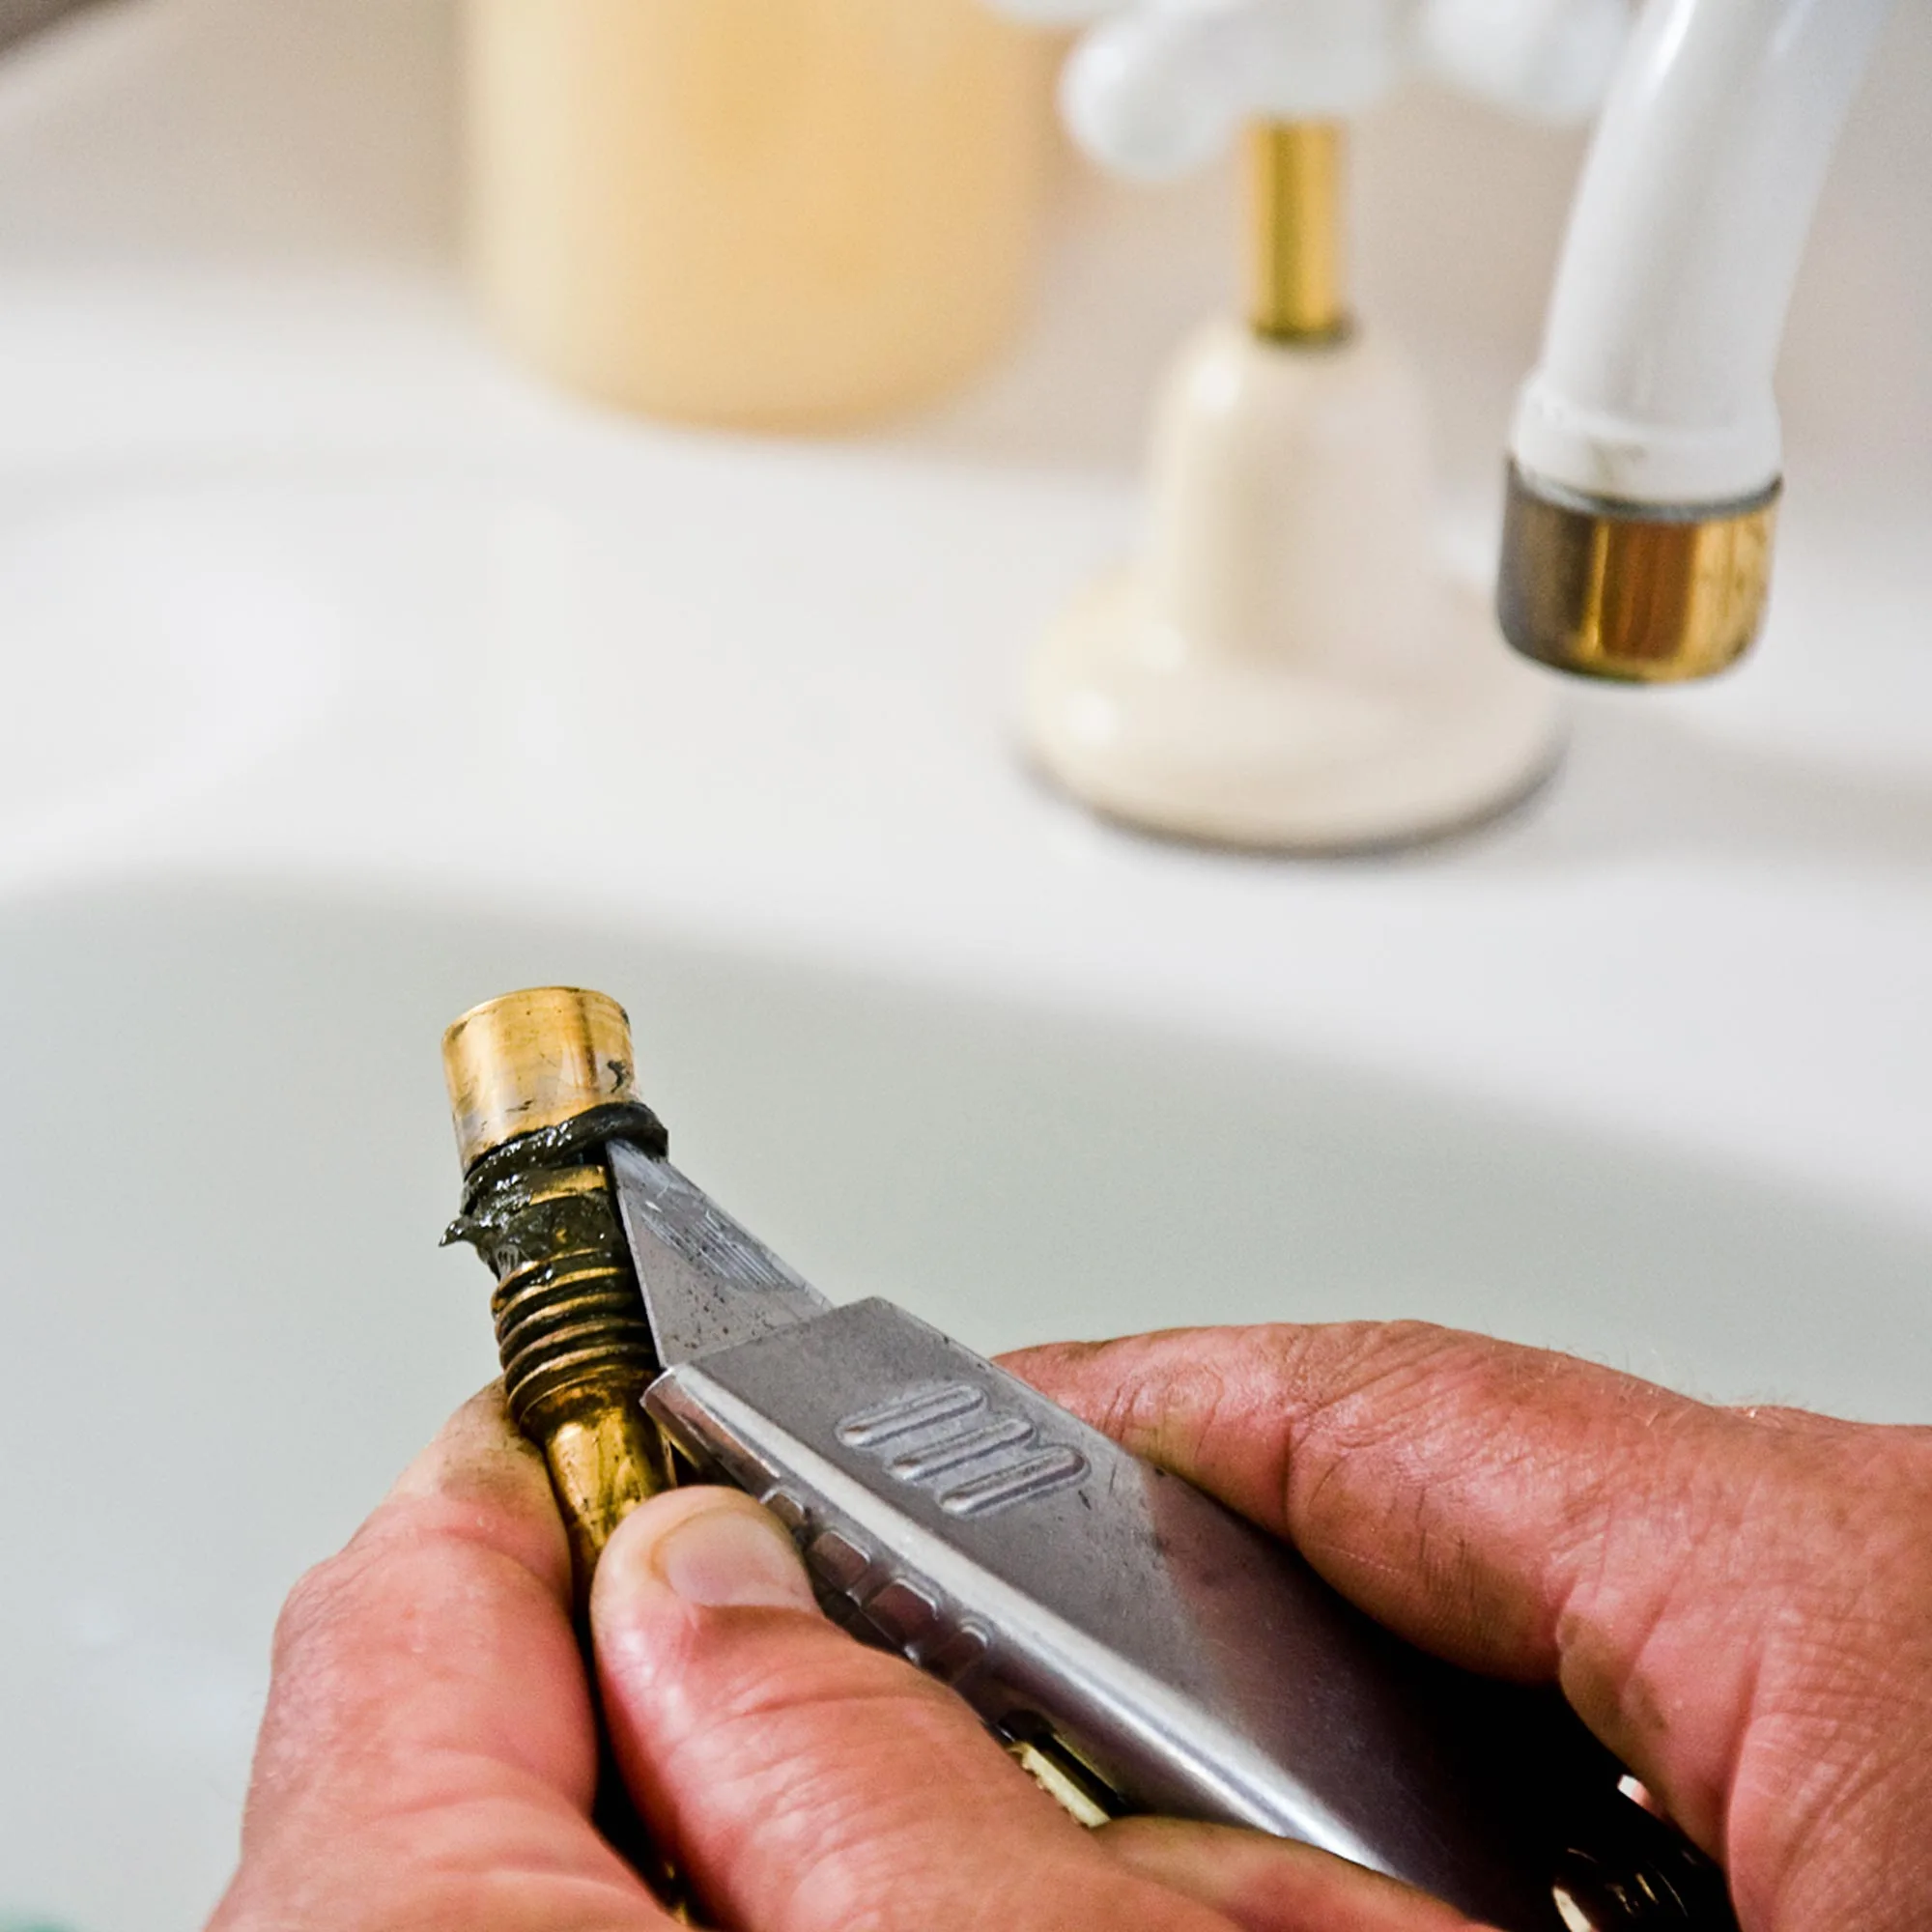
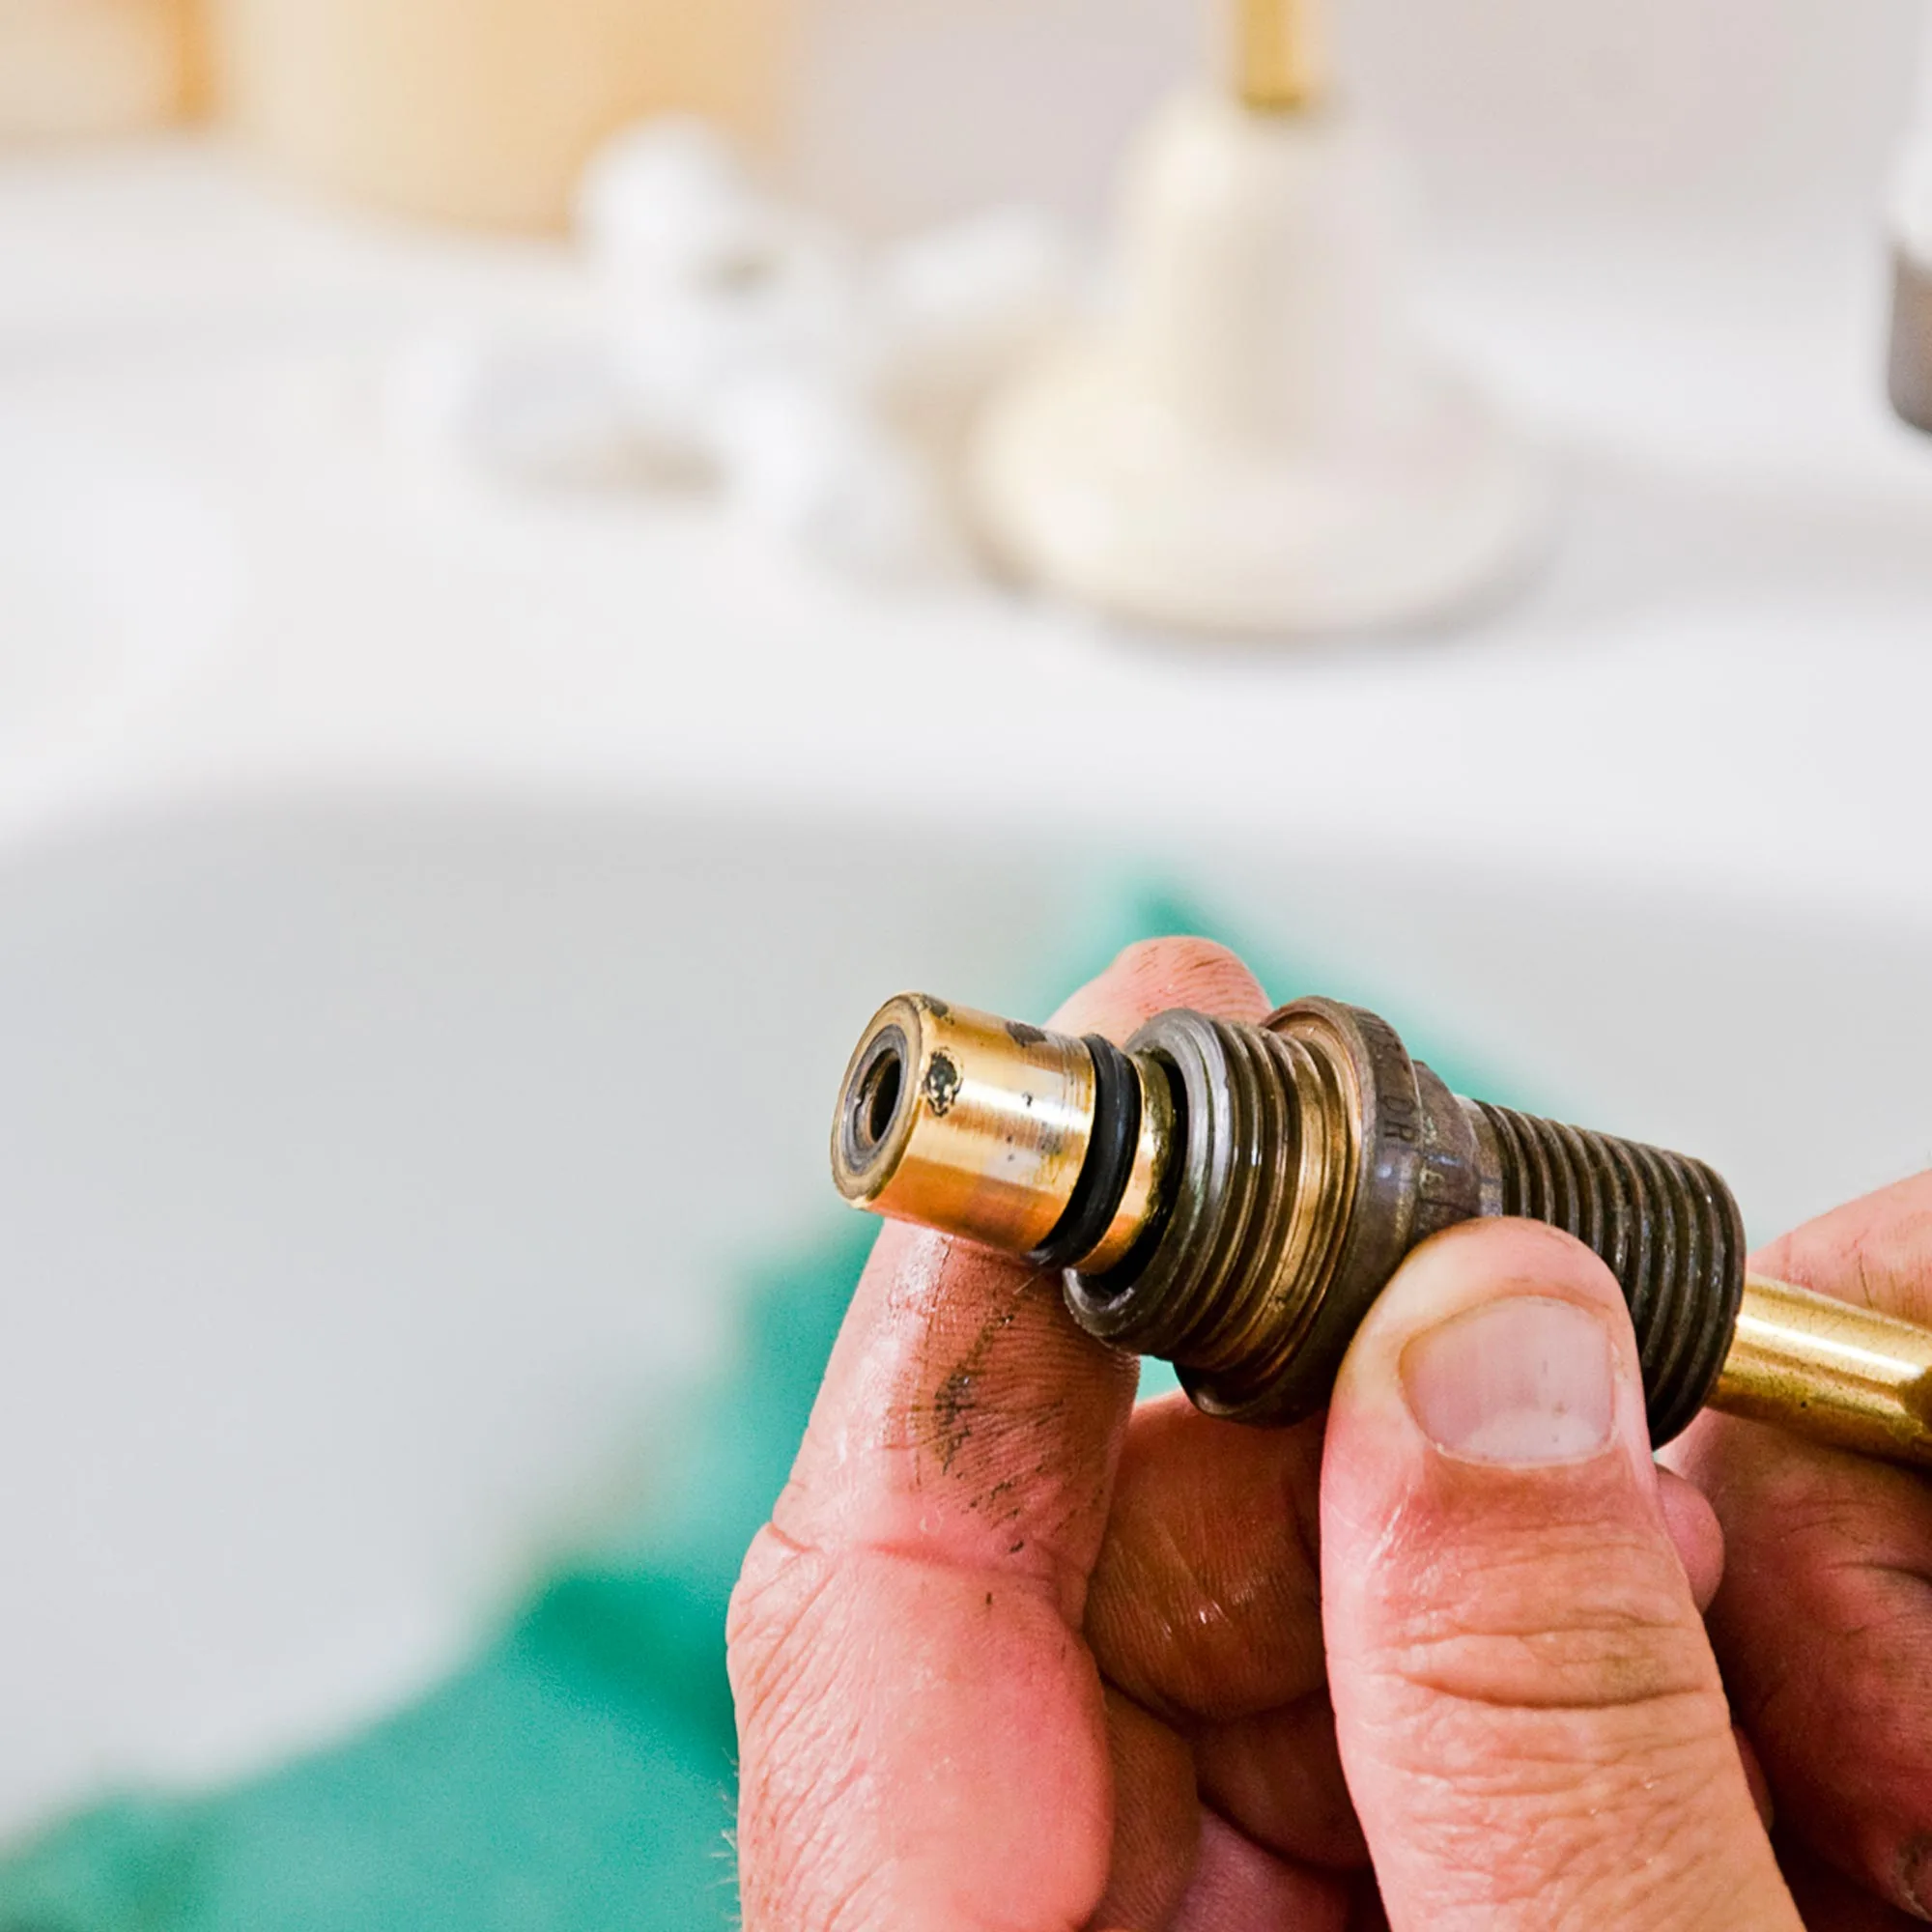
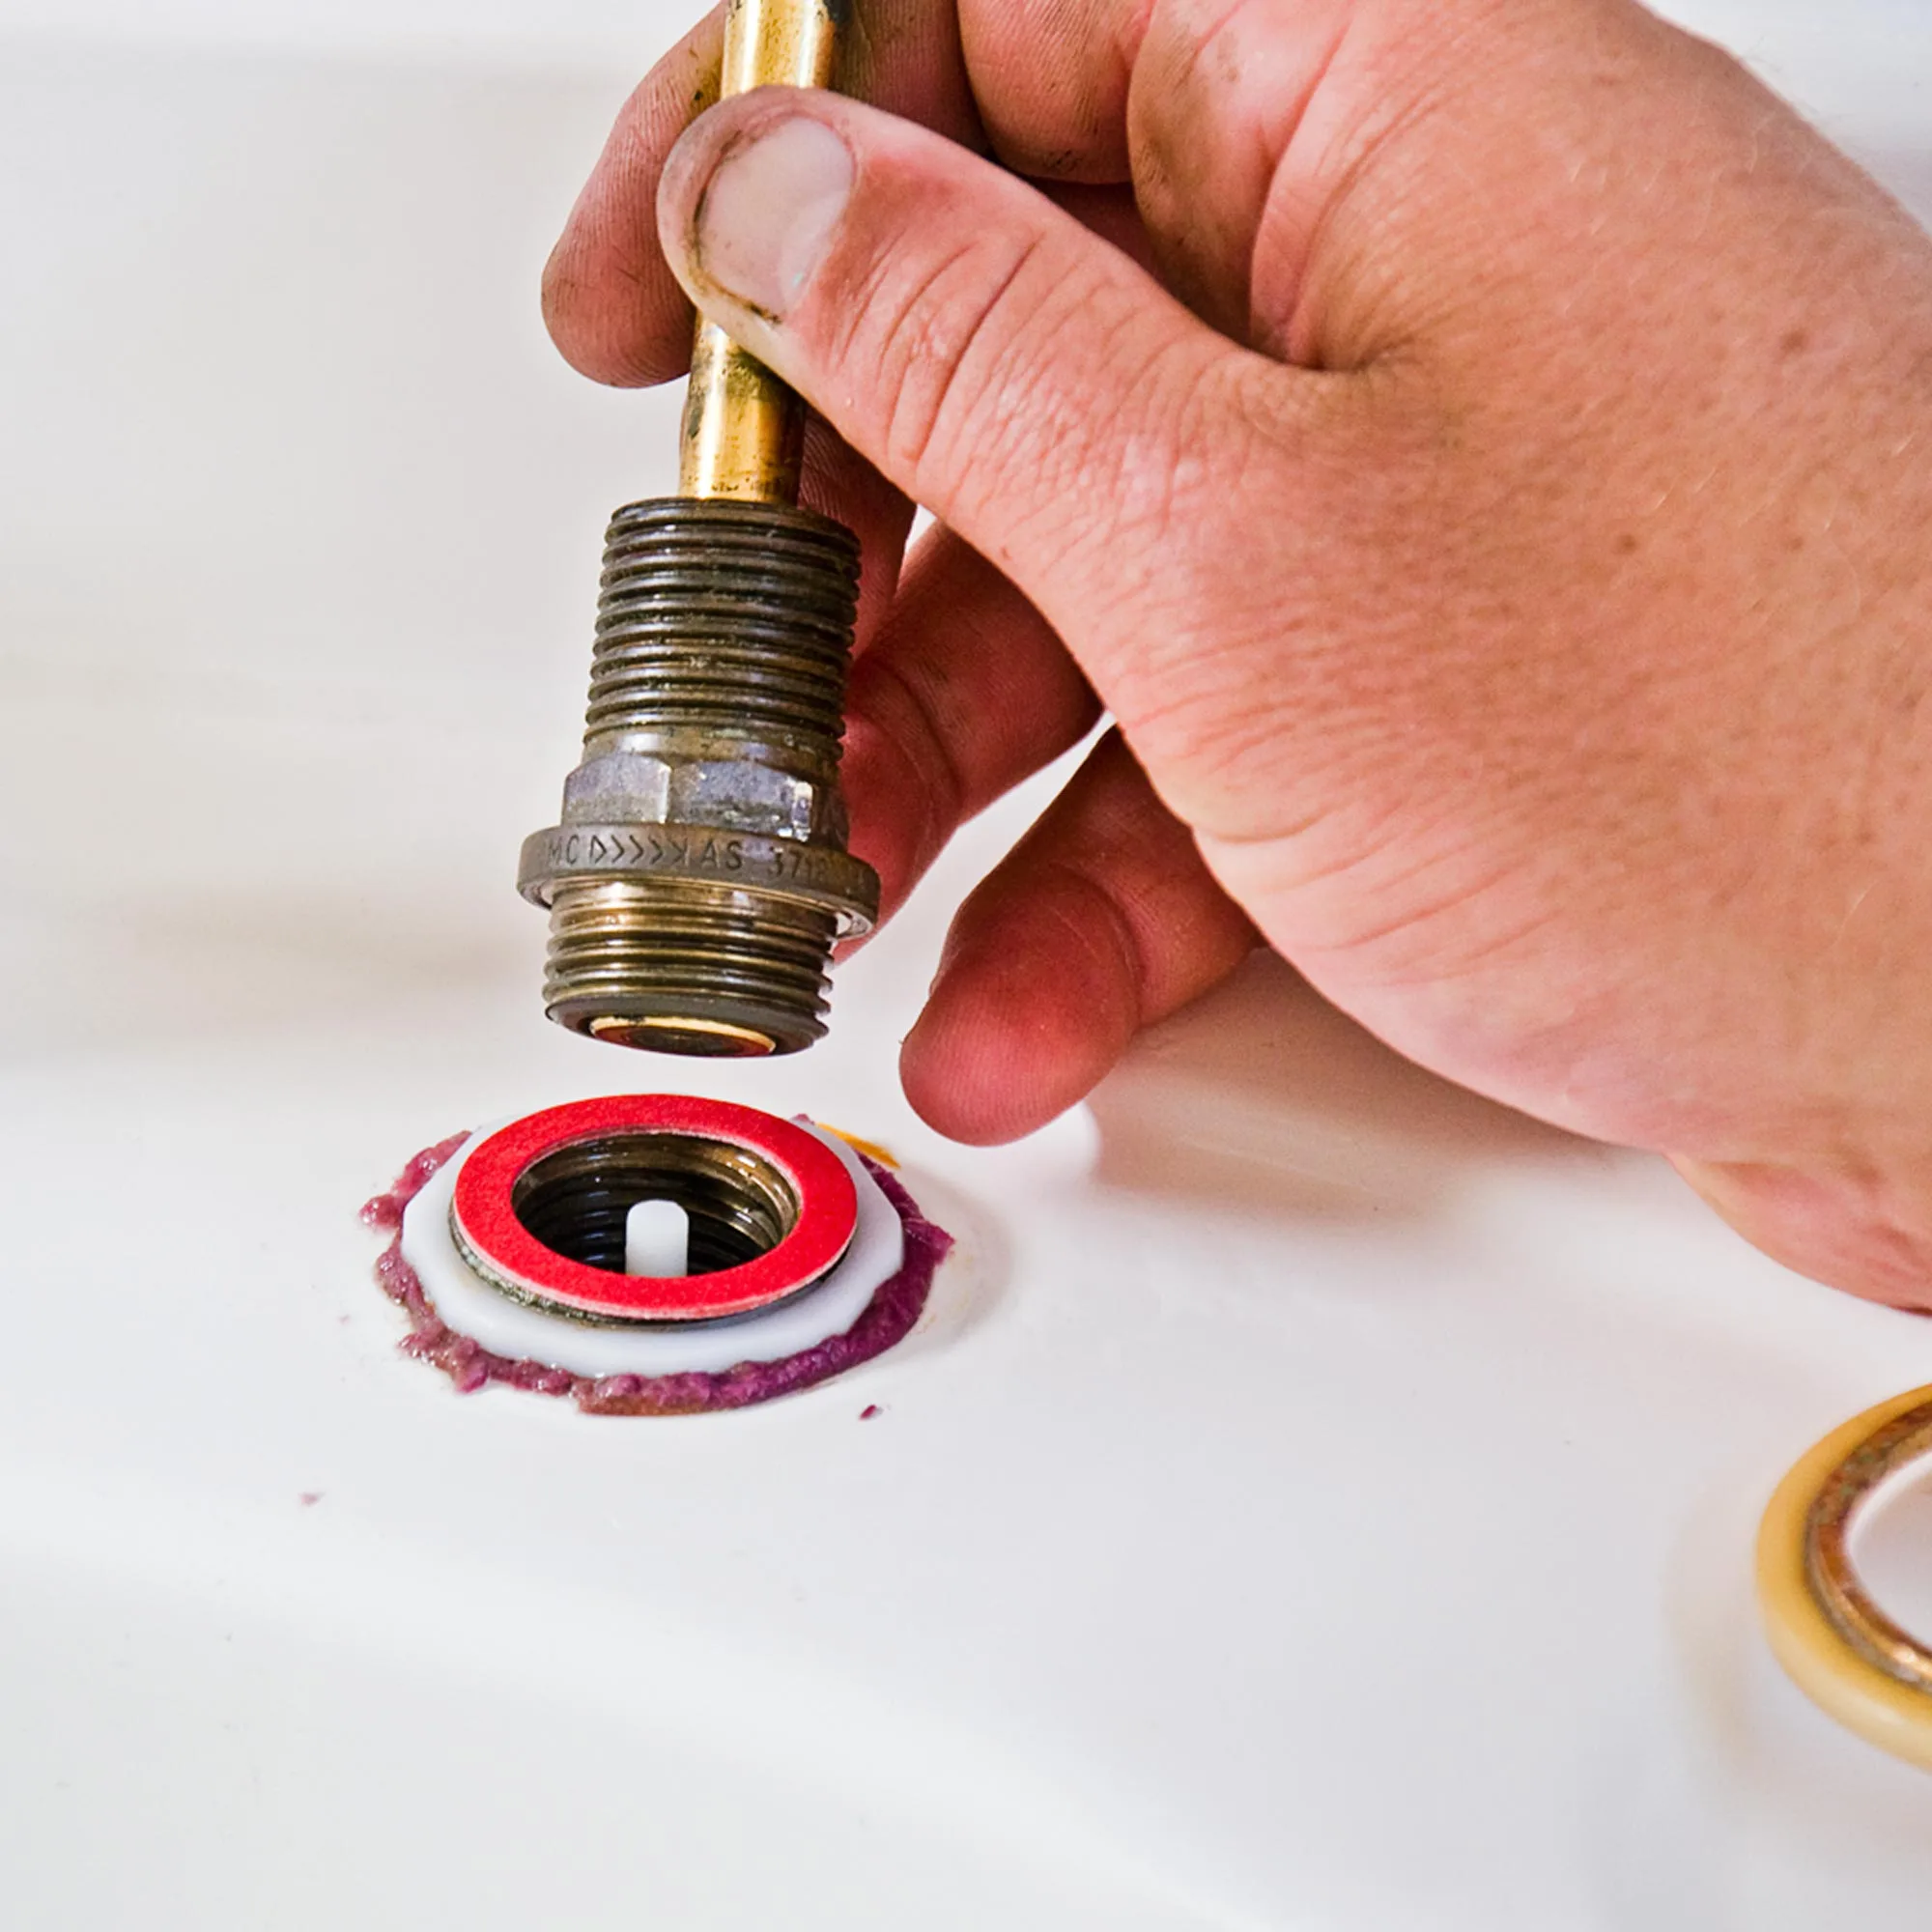
Wind the spindle out of the body as if you are turning tap off. This will expose the O-ring, which sits in a groove. Either prise off the O-ring or cut it off with a utility knife.
Step 4
Wipe everything down so it’s clean, then roll on a new O-ring. Wind the spindle back into the body so it’s completely in (the same position as when the tap would be fully on).
Step 5
Place jumper valve in the body (or in the end of the spindle) and place a new body washer on the base. Grab the tap body and wind it on. Tighten with a spanner.
Step 6
Reinstall the cover, handle and button, then turn off the tap. Turn on mains water and gently open the tap to let out trapped air. Turn off and test for any leaks.