Gather your supplies
- Wallpaper
- Stepladder
- Tape measure
- Pasting table
- Pencil
- Scissors
- Drop cloth
- Wallpaper paste or adhesive (if not prepasted)
- Water pan
- Spirit level or plumb-bob
- Wallpaper brush
- Straight edge
- Utility knife
- Sponge
- Seam roller
Step 1
To smooth walls, fill uneven areas with joint compound using a large putty knife. Let it dry for 24 hours, then sand smooth. Wipe walls with a sponge and bucket of warm water. Let dry thoroughly.
Use a brush or roller to apply primer to walls. (Primer helps the wallpaper stick.) Let it dry for at least two hours before hanging wallpaper. uneven areas with joint compound using a large putty knife. Let it dry for 24 hours, then sand smooth. Wipe walls with a sponge and bucket of warm water. Let dry thoroughly.
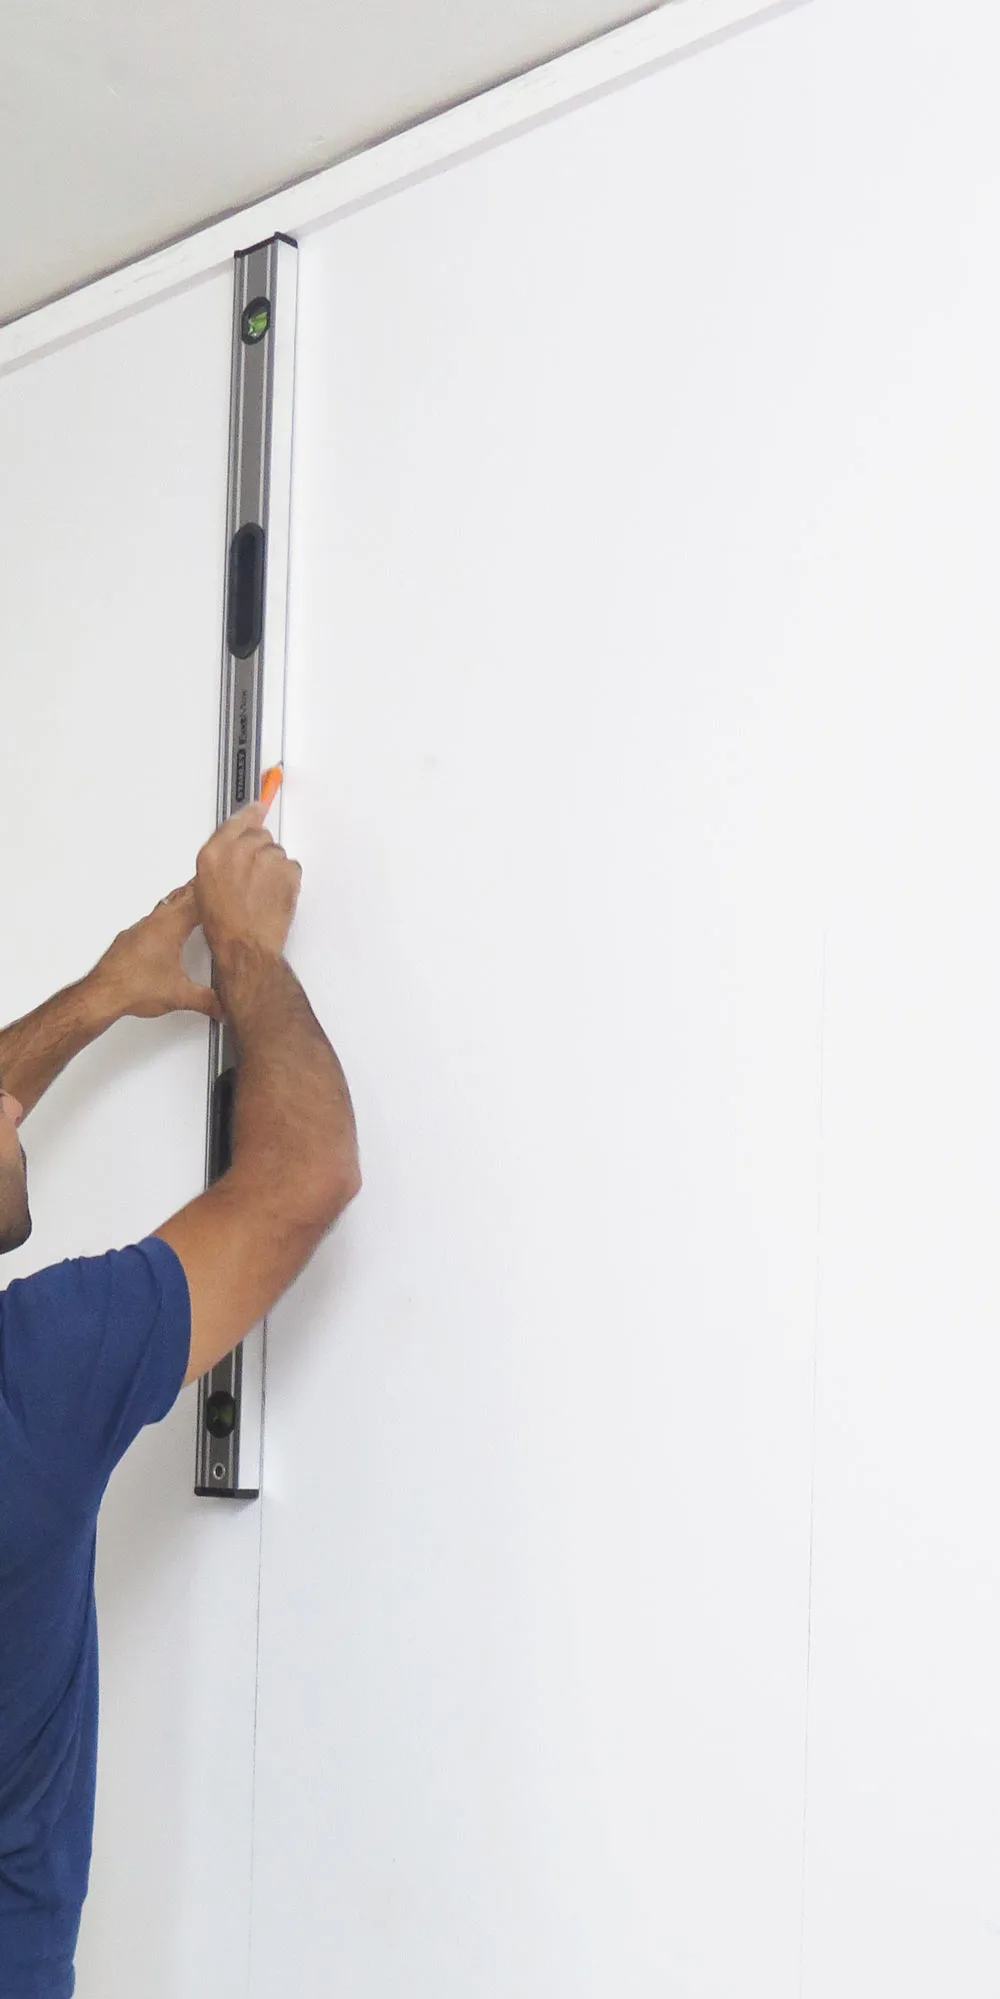
Step 2
Using a spirit level (or a plumb-bob) and a pencil, draw a straight line from the ceiling to the skirting board. Measure wall from the ceiling to the top of the skirting board. Add about 10–15cm for an overlap at top and bottom, and to match the pattern as you work around the room. (If you have a large pattern repeat, match the pattern before cutting. You may need longer strips.) Roll wallpaper on a table. Measure, mark and cut the lengths needed.
Step 3
Protect the floor with a drop cloth. Begin by rolling up the cut piece of wallpaper with the backing facing out.
For unpasted wallpaper, spread the paper on a flat surface and evenly apply adhesive to its back using a figure-eight motion.
For prepasted wallpaper, fill a wallpaper water tray two-thirds full with cool water. Soak the wallpaper piece in the water as recommended by the manufacturer. Unroll the paper onto the table, folding it over itself with the pattern side out to activate the adhesive.
If your room has an architectural focal point, such as a fireplace, centre your first piece of wallpaper above that. For most rooms, however, start in a corner. Measure out from the corner 2.5cm less than the width of the wallpaper (the extra paper will wrap into the corner).
Step 4
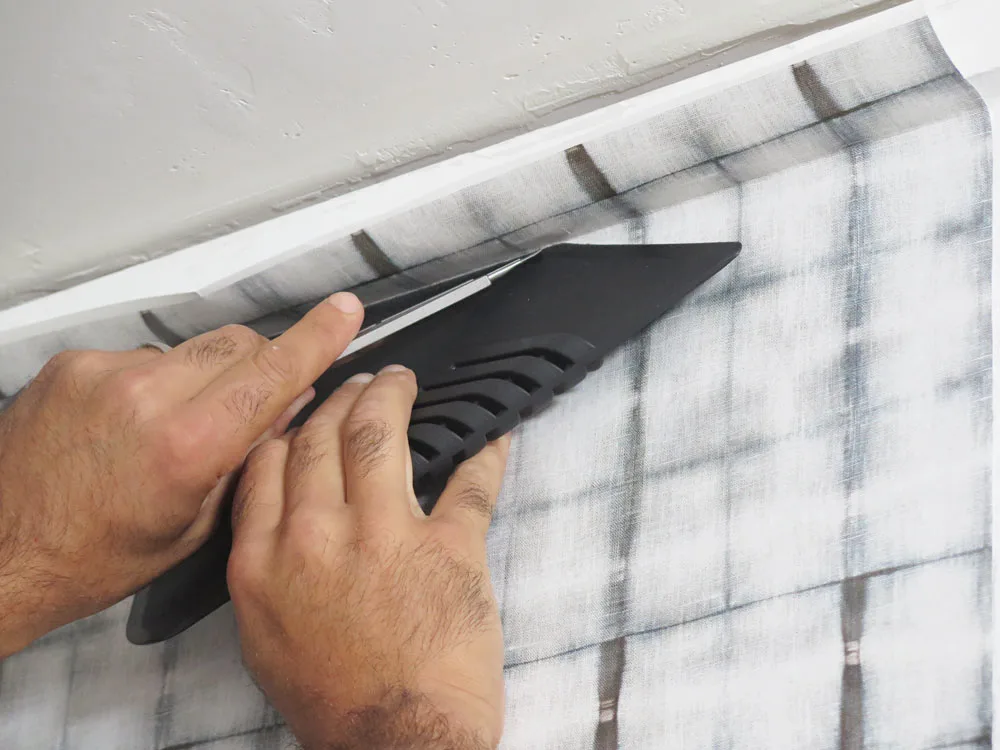
Use a wallpaper brush to press the paper along the pencil line, then smooth up, out and down. Make sure the paper doesn’t move out of vertical alignment. Brush out air bubbles or wrinkles, working from the centre to edges. Press the paper firmly against the ceiling line at top and the skirting board at bottom. Trim at top and bottom using a straight edge and a utility knife. Use a damp sponge to remove any adhesive that presses out.
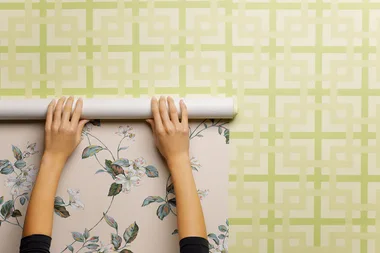
Step 5
When hanging the second length of wallpaper, take care to match the pattern. Slide the paper snugly against the first piece, from top to bottom, hiding the seam as much as possible. Use a wallpaper brush to press the paper to the wall and smooth out bubbles and wrinkles. Trim at the top and bottom.
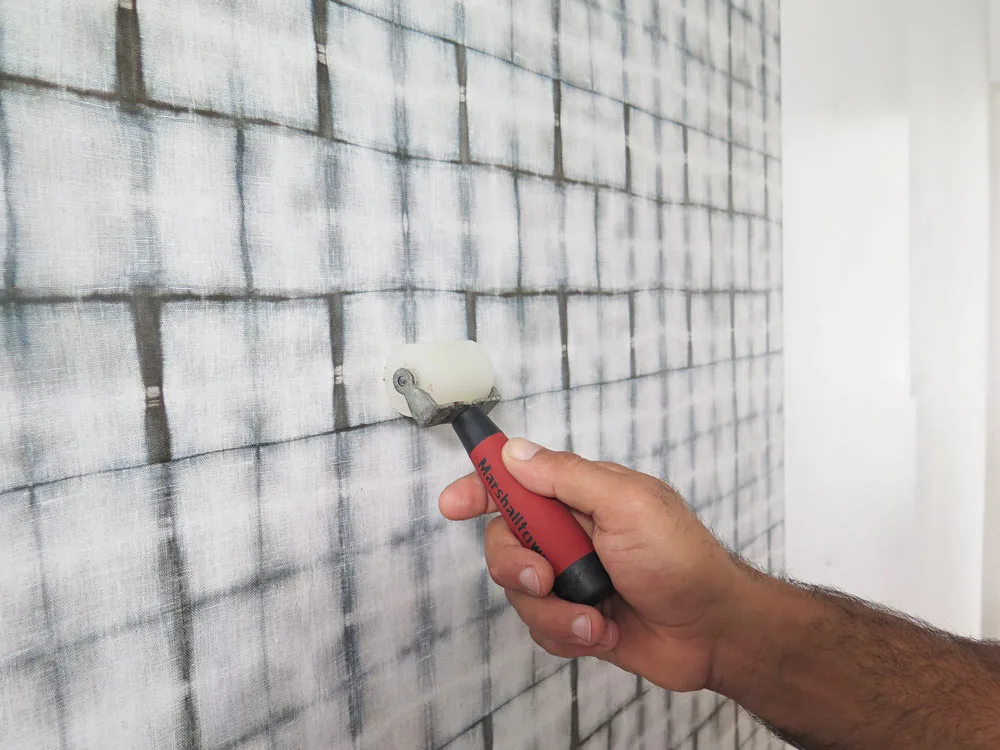
Firmly press the seam between wallpaper pieces with a seam roller. Use a damp sponge to clean any extra adhesive. (Skip this step if your wallpaper is embossed as it will flatten the texture.)
Step 6
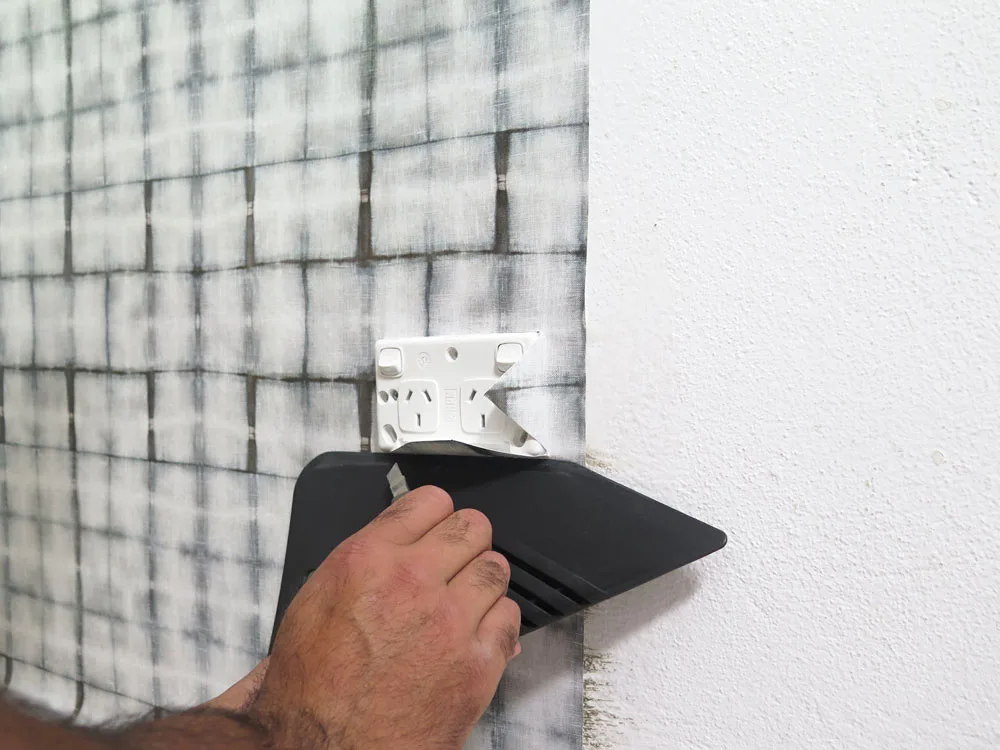
To cut around switches and power points, first shut off power to the room. Remove the power point cover; the electrical box will serve as a guide when trimming. Wallpaper over the opening. Cut an X in the paper over the opening or snip around it. Don’t worry about rough edges; the reattached power point cover will hide them.
There are two types of corners: inside corners and outside corners.
For an inside corner, trim paper so about 1.5cm wraps to the adjacent wall. Position the trimmed strip on the adjacent wall, overlapping the paper by 1.5cm and matching the pattern.
For an outside corner, wrap the wallpaper around the corner by 5cm. Overlap that strip with a new piece.
For the two corner types, use a straightedge and a utility knife to cut through both layers of paper about 2cm from the corner. Remove trimmed pieces and press the seam flat.
Step 7
To wallpaper around windows, let the wallpaper overlap a window frame. Press the paper firmly against the side of the frame, leaving portions above and below it loose. Using a straight edge and a utility knife, trim around the frame. Working slowly, make small snips scissors at the corners to avoid tearing the wet paper. Smooth paper on the wall above and below the window as you work around the window frame.
Check face of wallpaper in bright light and wipe off any excess paste.
You might also like:
The best exterior paint colours to try
Understanding the different type of paints
How to maintain your painting equipment